Your cart is currently empty!
Welcome to our community, we are thrilled to see your amazing photos and graphic designs.
We hope you enjoy selling here at shot fotos as much as we are!
How to upload your first product
Uploading your photo or any design is pretty easy, but we are happy to make step by step tutorial to make it easier for you to do it right and get approved fast.
Before starting this tutorial, please read these guidelines carefully:
1- Don’t add any watermark , text or logo on the photo/graphic design.
2- The minimum size of the photo accepted is 2000×1500 px.
3- Photo should be in high quality and not blurry.
4- Minimum resolution of the photo: 72 dpi.
Now enjoy reading how to upload your first digital product:
1- First thing first, create a free account.
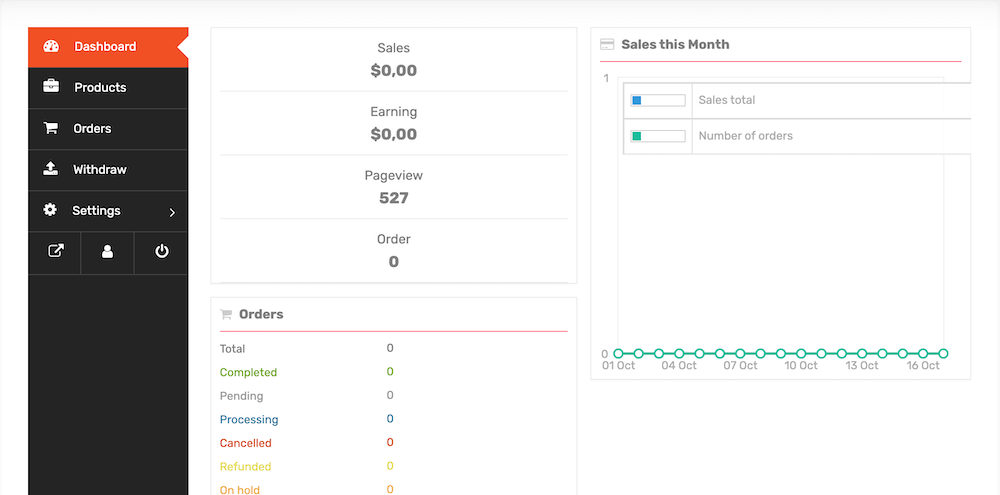
2- Go to your dashboard, it should be something like this.
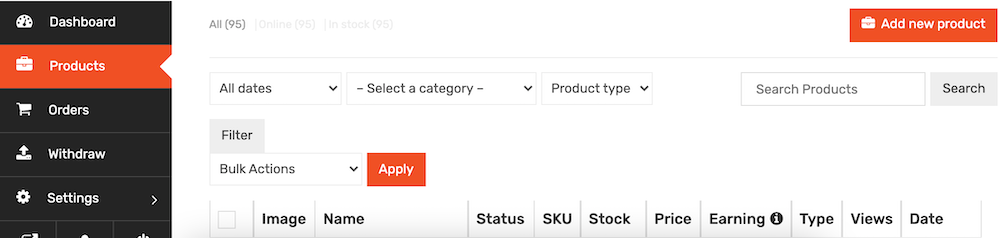
3- Go to Products under Dashboard on the left, then click on Add new product button on the top right corner.
4- A new page will appear to add the important informations about your product.
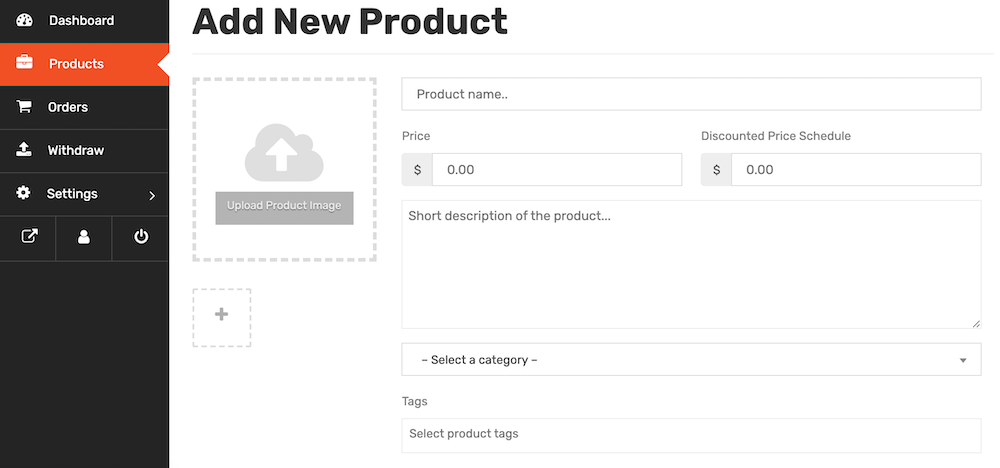
5- For your product thumbnail:
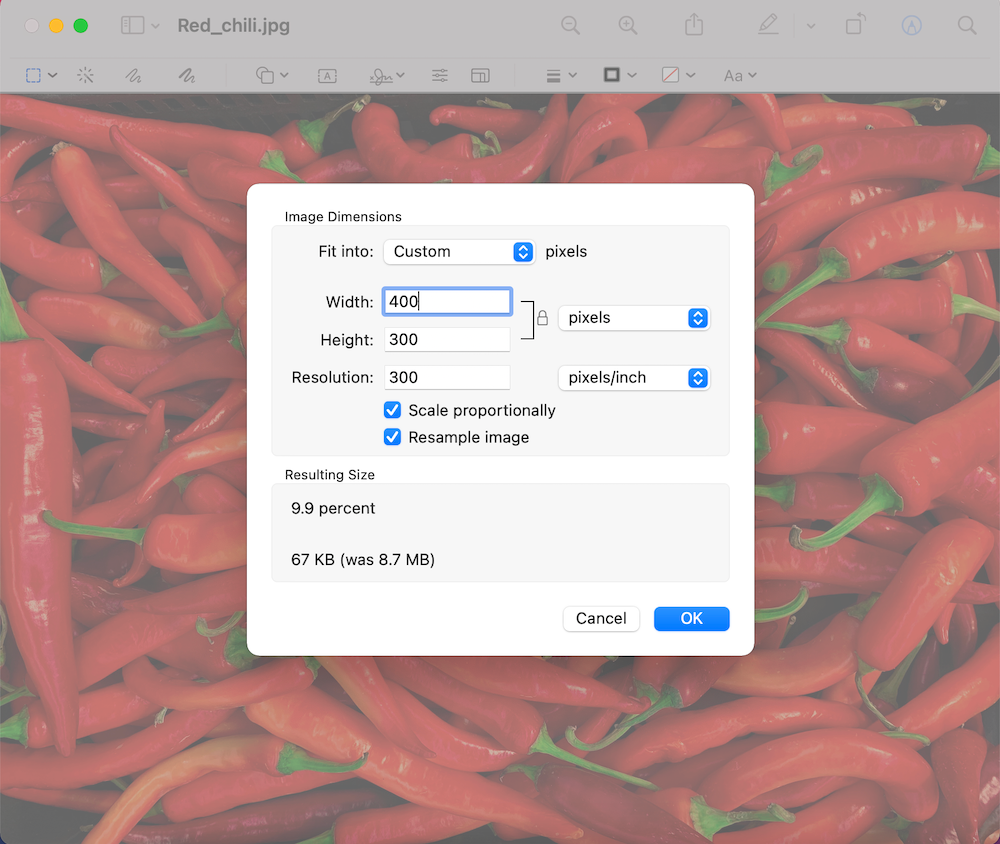
For the photo or any graphic design:
Make a copy of it then decrease this copy size to 400px or 500px in width with any length, this will be the thumbnail.
Please don’t add any watermark, text or logo on it.
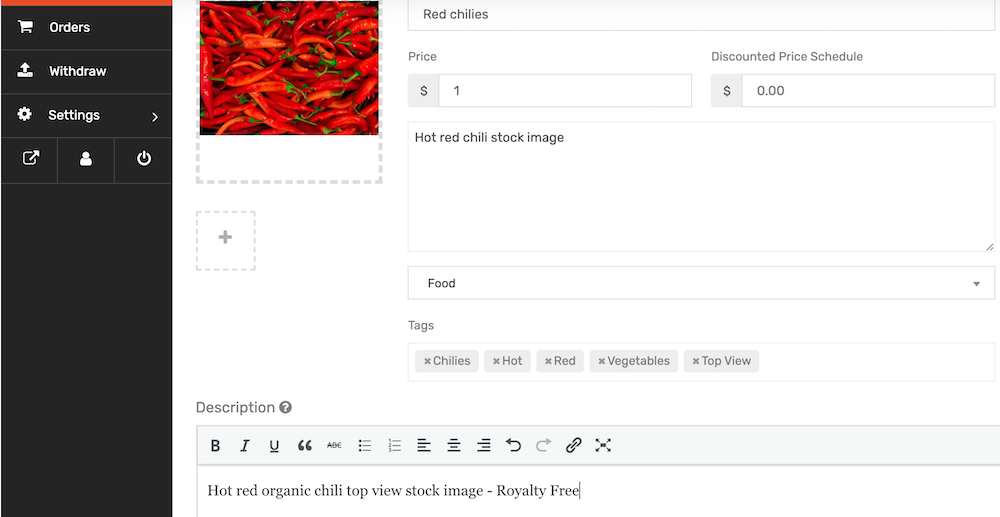
6- For the product name:
Add a short title for your image/graphic design that you will sell.
7- Choose a fair price for your product for the price section, if you want to make a discount:
Choose the before price in the price section and after the discount in the Discounted Price Schedule section.
8- Write a short description in the short description section.
9- Select a proper category of your product and related tags.
10- Lastly in this page: write a detailed description of your image/design including:
Sizes, resolution and the format of your product.
It should look something like the example below:
11- Hit create product button at the bottom.
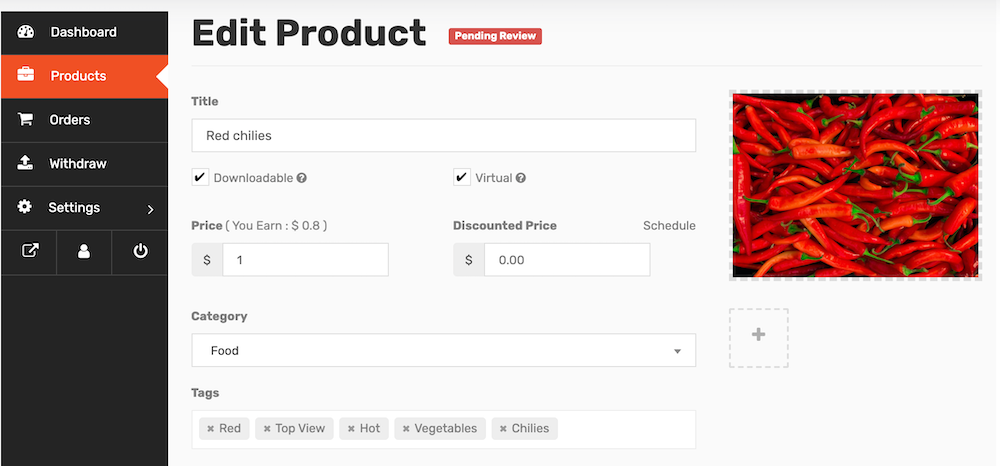
12- In the next page, Edit product page, choose Downloadable and Virtual so people can download your image or design.
Edit anything about your product if you need to.
13- Scroll down to Downloadable Options and hit Add file.
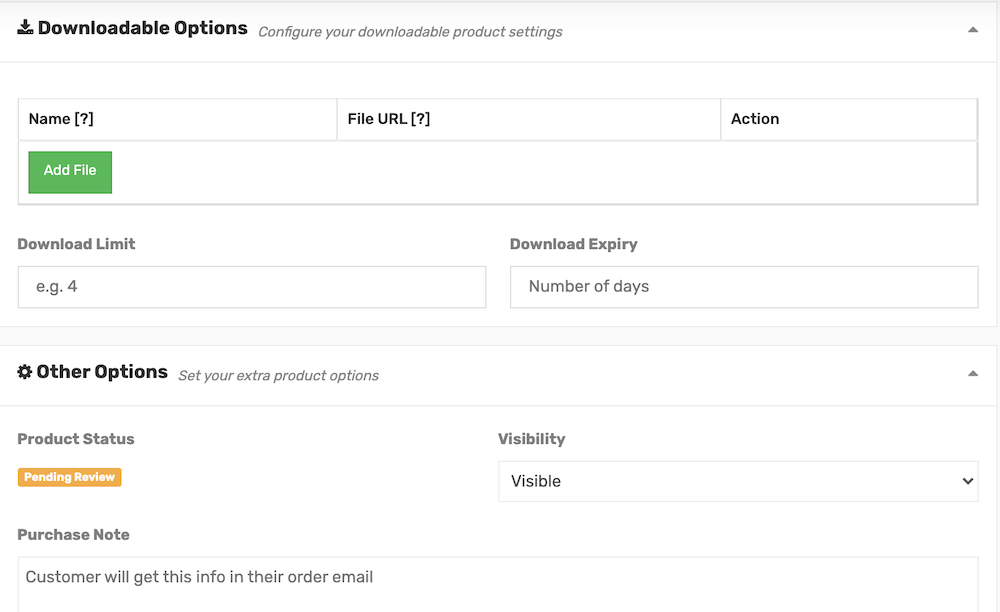
14- Add file description in the first box and hit choose file to upload your image/design.
VERY IMPORTANT NOTE:
If your image 2000px in width, you can just hit choose file and upload your image.
If your image is larger than 2000px in width, you should compress it to a zip file.
If you are uploading: photoshop file, vector file, illustrator file, turn it to zip file too
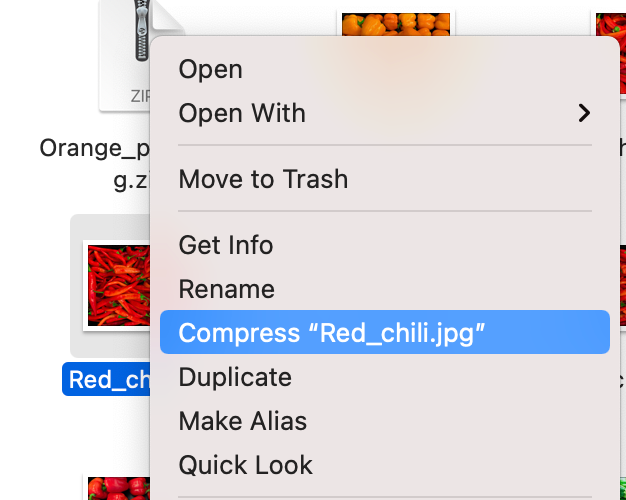
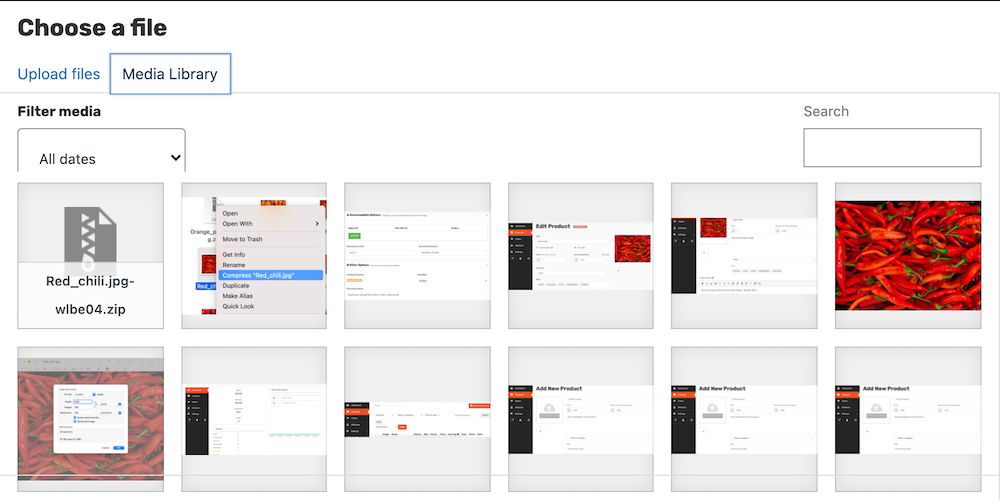
How to turn an image to a zip file?
Right click on the image and choose: compress
15- If you turned your image, psd file or ai file to a zip file, hit choose file button.
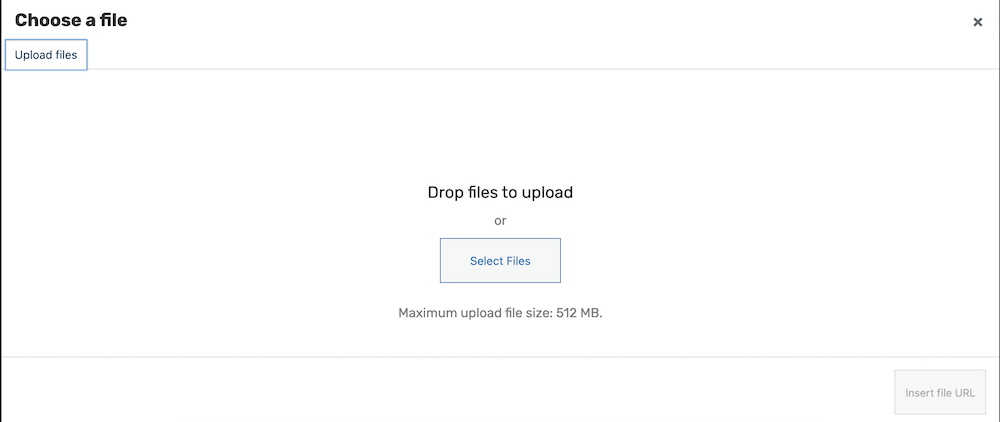
16- A pop-up window will appear with 2 tabs, choose upload files tab.
17- Hit select files button and choose your file, or simply drag and drop your file there.
18- Make sure your file is marked with blue and with the check mark, write a short description of your image on the right and then hit the button Insert file url.
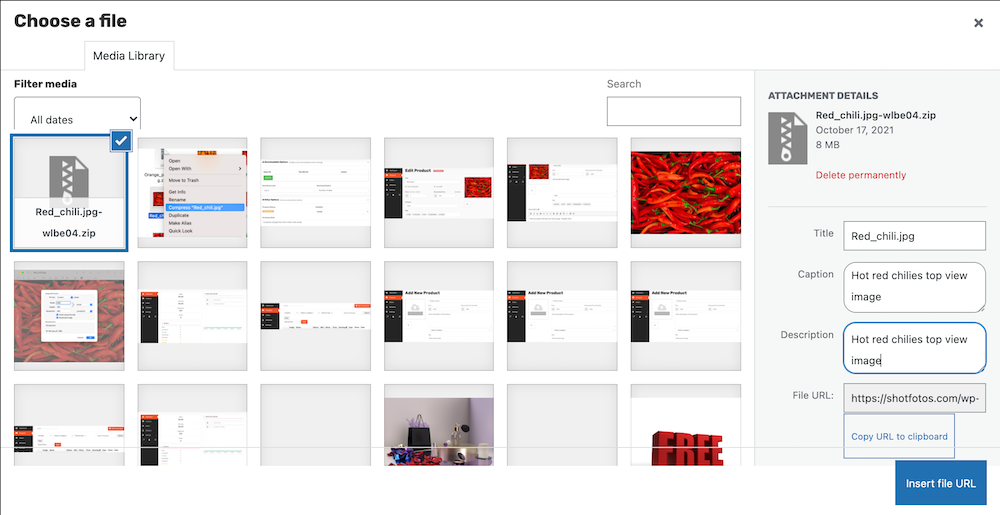
Now you are done uploading your file.
19- For Download Limit and Download Expiry: leave them blank and then hit save product button at the end.
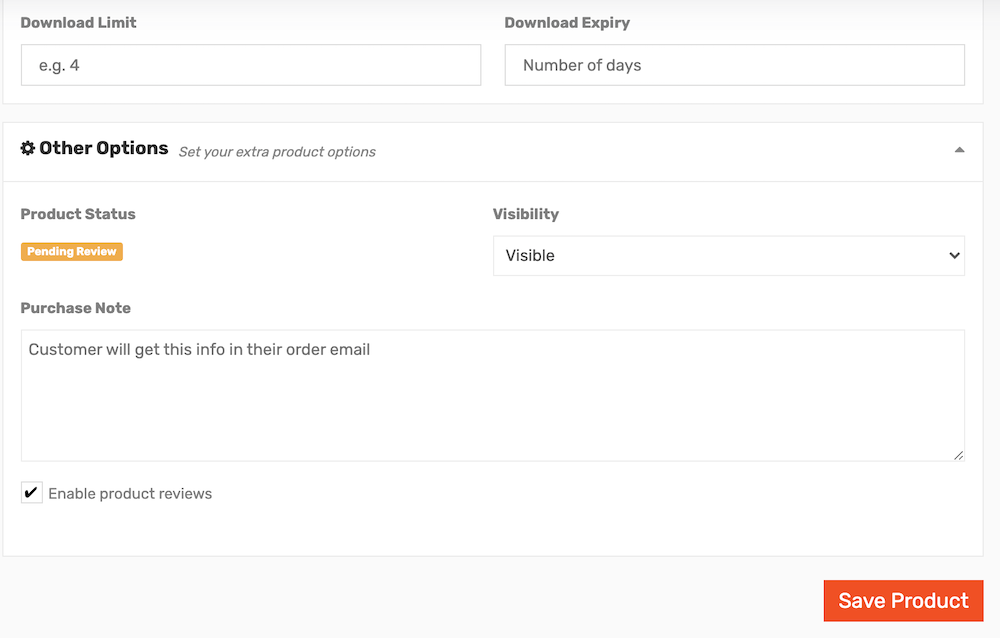
That’s it, hope it easy and fun.
If you have any question, please contact us immediately.
Or send your inquiry to support@shotfotos.com